For this controller, I need a box. I want it to be classy, sober, and a bit old-school. The only real requirement is that it has to provide an easy access to electronics in case something goes wrong. Murphy’s law, you know…
Some of you may arrive out of the blue here. So have a look at the previous article, day #1.
So I tear apart my joystick box, cardboard stuff, and built a small control box with it. Or rather a prototype of that box to be.
Tools
With a few simple tools like swiss army knife, a set square, a pen and some tape, I started destroying one box and building the other :) This is the bottom that you can see here: (the tape roll ran away during the picture)
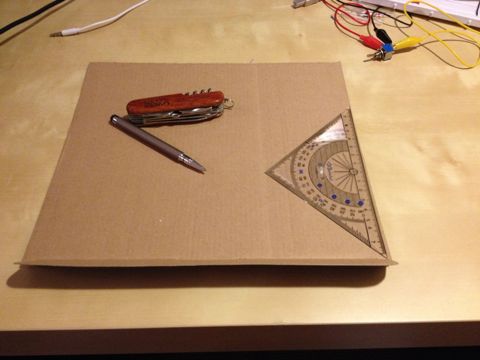
Building the box
Then I quickly added the top as well as some switches and LEDs. I think it looks nice already, I’m gonna love it!
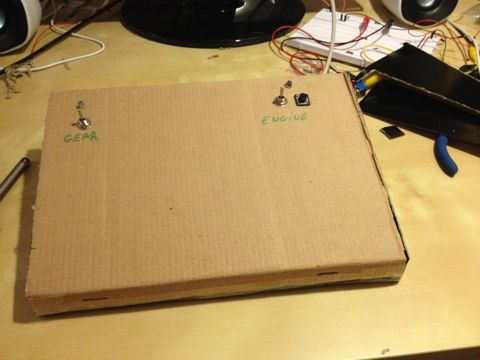
After some fiddling around, I decided to go for a rear opening. With the cardboard, it works fine, but the wooden box will require hinges. And it’s probably a bad idea to put hinges in front, I might well hurt myself on this…
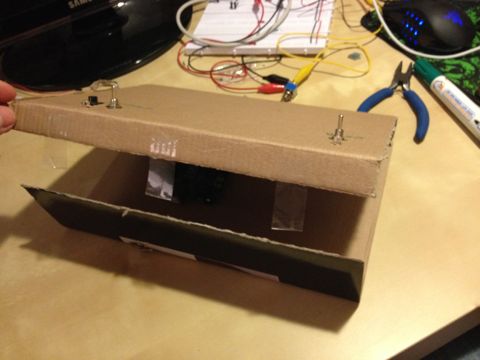
With the sides, and the arduino inside for the show…
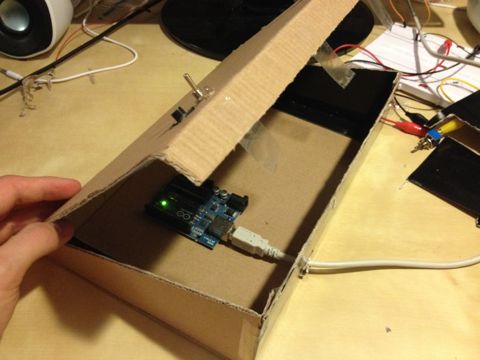
Finished prototype
So that’s it. Not really impressive, eh? But this gives a good idea of the expected final shape, and it helped me think about some important stuff like hinge position, cable management etc. A few hours work, little to no cost for so many saved hours and material later :)
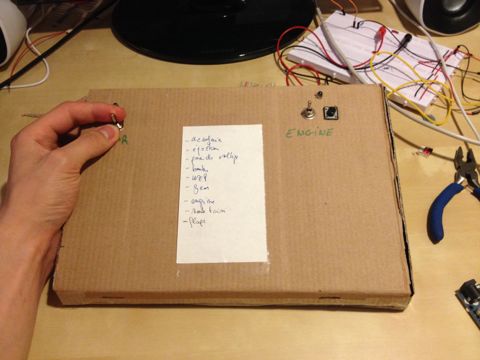
On top of it is the first list of the controls I want on this box. More on that later :)
To be continued
This story is not over yet. Read the next post: blueprints and dimensions.